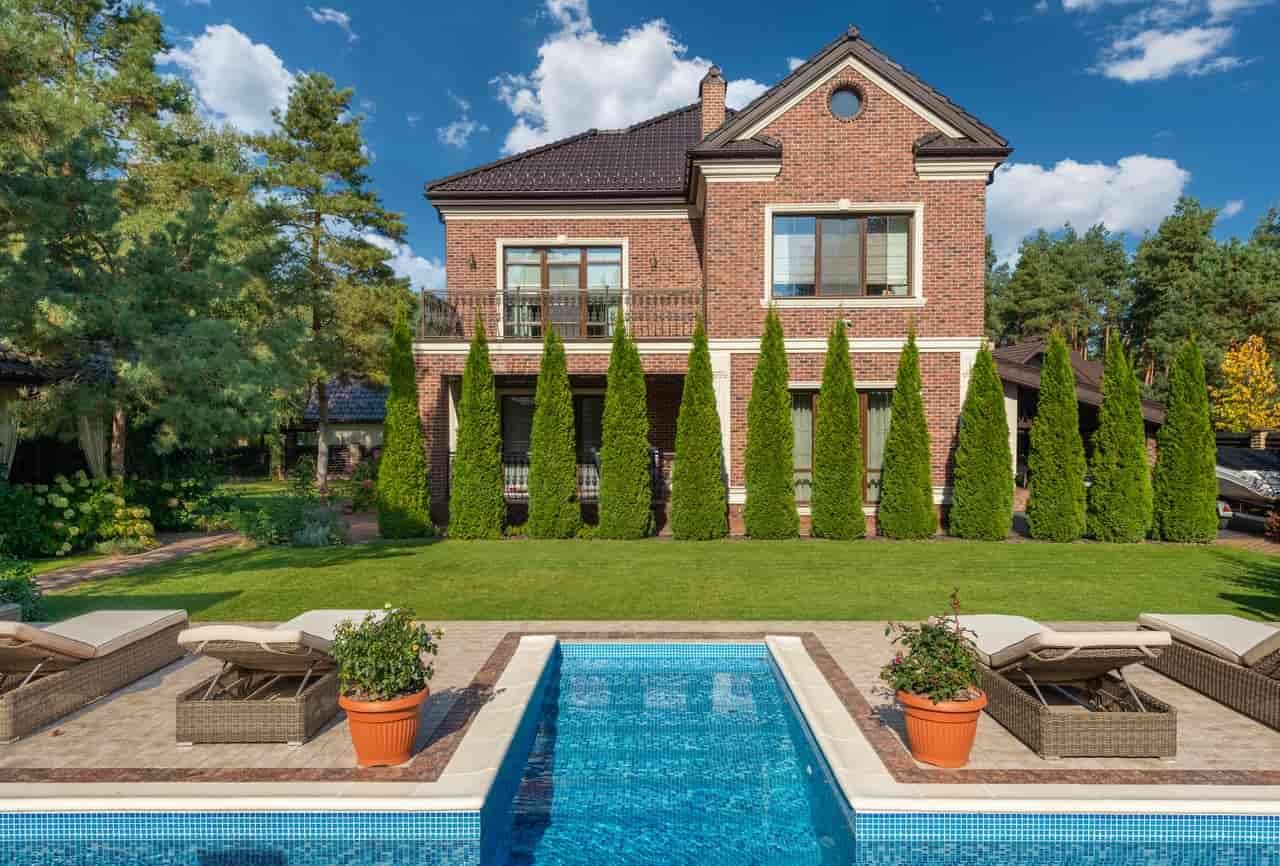
A Clearer Picture Of How To By First Understanding Landscaping, It's Methods, And Principles.
For most folks set on creating their own landscape design, the question of what is landscaping is often a good place to start to get a better understanding the "how to" of it. While understanding what it is in terms of history or definition may be helpful to some to get a grip on the how to of it, it's generally not as helpful as understanding the principles of what makes a good design appealing and functional.
For most people, it's easy to look at a great yard, get ideas and copy them, but it may never even occur to them what it is that made it so appealing or what principles are applied to create an inviting and functional design that just simply works and "pops". So along with looking at that, let's answer the real question of what is it about it.
Because landscaping addresses so many different local, geographic, environmental, and global issues, landscape design can have both a simple and an extensive definition. The history of gardens and landscapes goes back centuries and can teach you alot about how to design a garden or yard. However, it's generally not the real answer that folks are looking for who need an understanding to better create their own front yard, backyard, patio, or pool area.
A Definition Of Landscaping
While we'll take it a little further as it relates to the design process, as defined by Wikipedia, "Landscaping refers to any activity that modifies the visible features of an area of land, including but not limited to:
- living elements, such as plants and activities known as gardening, the skill of growing plants with a purpose of creating an appealing or even useful environment with the landscape.
- natural elements such as the land, shape and elevation of the terrain, or areas of water;
- man made elements such as buildings, fences or other human constructed elements; and
- elements like weather and lighting."
If you simply want a definition, the Wikipedia Definition Of Landscaping will give you a basic explanation of the history and aspects of many methods.
Methods And Design Styles
While often not understood, methods and styles of landscaping are not the same thing. While a method is more of a way of doing it such as Xeriscaping, or Sustainable Gardens, a design style addresses the theme, appearance, and incorporation into the surrounding elements such as the style of home or existing surroundings.
For instance, landscaping a slope, hillside, or other problem area will require special methods that address erosion, run off, saturation, ground cover, plants, and other issues. Xeriscaping, for instance, is a low water use method used in areas where environmental issues such as drought requires special planting, watering, and grading techniques. Xeriscaping is not a design style.
In a hot, dry climate the method almost always drives the result more than the theme does, which is one reason the Phoenix-area crews that made the cut tend to talk about grading, drainage, and irrigation zoning long before they open a plant book.
However, depending on the style of home, the neighborhood, geographic location, or just your own ideas, a landscape design can be a number of styles such as Southwest, Mediterranean, Japanese, Formal, etc..
What Can Landscaping Accomplish?
What most simple definitions will tell you is that landscaping is sculpting, forming, changing, altering, etc., etc., etc. an area of land into a different form that is useful and/or visually appealing. Simple enough, right? It could involve plants, dirt, ground cover, buildings, structures, water, man-made stuff, natural stuff, and the existing lay of the land.
- It addresses and corrects specific problem areas like slopes, hillsides, drainage issues, blocking wind, creating shade, creating privacy, blocking noise, etc.
- It adds useful hard surfaces to otherwise unusable hardscaping areas such as driveways, parking, sidewalks, and walkways.
- It creates personal space for entertaining and relaxing such as patios, swimming pools, outdoor kitchens, outdoor fireplaces, and even outdoor bedrooms.
- Landscaping creates visual curb appeal and invitation that directs visitors to the front door or other entrance of the home or business.
What Are The Principles?
Since it is an art form, the principles of landscaping folow guidelines closely related to all other forms of art. They help define what it is by giving structure to how it is applied to create often unseen effect that gives a well designed yard its appeal. Things that are often not even considered such as what makes a design balanced, makes it flow, stay in proportion, or simply what makes it so appealing. This is the art of landscaping.
- The Principles Of Landscape Design
These are the basic principles defined by us in a simple short order. - The Principles Defined By The University Of Florida
One of the best and most detailed sheets on the principles of landscaping. This chart covers a lot of considerations and the technical side of design. - Landscape Site Design Analysis
A few items that should be considered before you put your pencil to paper or shovel to the ground.
Understanding What It Is Through Design Styles
As we have a better understanding of what it is and the techno-speak of applying it, an even better understanding of landscaping can be gained by seeing examples and pictures of designs and design styles. Together, the illustrations and verbal explanations will help you see the big picture and find a starting point for the framework of your own design.
- Landscaping Ideas
These are a few of our own projects and designs in several different design styles and themes. - Landscaping Pictures
This is where most folks start to look for ideas and get a good understanding of what is landscaping and how to use it. - Design Plans
- Backyard Ideas
What is the best way to landscape your backyard? What kind of elements should you add or leave out? These designs and elements should spark some ideas. - Front Yard Ideas
Front yards will give you some ideas about what good curb appeal is, access and entry, as well as many other aspects of landscaping, gardens, and garden design.
Step 4: Measure The Site And Draw A Base Plan
Everything after this step gets easier if the drawing underneath it is accurate. Work with a 100-foot tape (a helper makes it far faster), and put the results on graph paper at a scale you can hold in your head — 1/8 inch equals 1 foot works for most suburban lots, 1/4 inch equals 1 foot for small courtyards and side yards.
Get these onto the base plan before you draw a single curve:
- Property lines taken from your plat or survey, not from the fence — fences are wrong more often than people expect.
- The footprint of the house with every door, window, and the sill height of each window, so you know what a 6-foot shrub will block.
- Utilities and fixed obstacles: meters, cleanouts, hose bibs, the AC condenser, downspouts, septic field, and any easement you are not allowed to build on.
- Existing trees with the trunk location and the width of the canopy, plus anything you have already decided to keep.
- Overhead lines and the driveway apron, which set the limits for tall plants and new paving.
Then call 811 (or your local equivalent) a few business days before any digging, even for a fence post or a tree pit. Marking is free; hitting a gas line or a fiber drop is not.
Step 5: Read The Site Before You Change It
A yard tells you what it wants if you spend a week paying attention. Note where shade actually falls at 9 a.m., noon, and 4 p.m., in summer and again in winter — a "full sun" bed in June can be in shadow by October, and a west-facing patio can be unusable from 3 p.m. until sunset without shade.
Walk the yard during a real rainstorm and again an hour after it stops. Standing water, silt fans, and mulch washed onto the walk all mark the low points and the paths water takes. Grade should fall away from the foundation at roughly 5 percent for the first 10 feet — about 6 inches of drop — and any planted area or lawn needs at least 1 to 2 percent of fall to move water at all.
Check your soil while you are at it. Dig a hole about 12 inches deep and fill it with water; if it still holds water 12 to 24 hours later, you have a drainage problem to solve with grading, amended raised beds, or a French drain, not a plant problem. Also note prevailing wind, the views you want to keep, the views you want to screen, and where noise comes from. These constraints are the most useful design input you will get, and they cost nothing but attention.
Step 6: Bubble Diagrams And Outdoor Rooms
Before shapes and materials, lay tracing paper over the base plan and draw loose bubbles for use, not appearance. Most yards break down into three kinds of space: public areas the street sees, private areas for family and guests, and service areas for trash cans, compost, tools, and the pool equipment nobody wants to look at.
Bubbles only work if they are drawn at honest sizes. A few dimensions worth committing to memory:
- A dining patio for six people needs roughly 12 by 14 feet once you allow for chairs pulled back from the table.
- Main walkways from the drive to the front door want 4 to 5 feet of width so two people can walk together; secondary garden paths can drop to 30 inches.
- Seating around a fire pit needs about 5 to 6 feet of clear space between the seat edge and the fire ring.
- A lawn smaller than about 15 feet across is more maintenance than usable space — consider paving or planting it instead.
Test the layout in the yard with a garden hose, spray chalk, or cardboard boxes standing in for furniture. Live with the markings for a few days and walk your normal routes. Where you cut the corner is where the path belongs.
Step 7: Set A Budget And Put The Work In Order
Hardscape, not planting, drives cost. Patios, walls, steps, and drainage typically eat most of a first-phase budget, while plants and mulch are the least expensive part of the picture — and the easiest part to add later. A common planning range is 5 to 15 percent of the home's value for a complete landscape, which is exactly why phasing matters.
Sequence the work so nothing gets built twice: grading and drainage first, then irrigation mainlines and sleeves under any future paving, then hardscape, then soil prep and planting, then lighting and finish details. Trenching for a light or a drip line after a patio is finished is the single most avoidable expense in yard work.
“The cheapest thing you'll ever do is run a spare conduit and an irrigation sleeve under a patio before it's poured; the most expensive is saw-cutting that patio open two years later,” says Marco Delgado, project foreman at Desert Vine Landscaping.
Write the phases down with rough dollar figures next to them. A plan you can build over three seasons beats a perfect plan you never start.
Step 8: Choose Plants And Materials Last
By now the plan tells you what each plant has to do: screen a window at 8 feet, hold a slope, take reflected heat off a south wall, or stay under 30 inches so it never blocks a sight line at the driveway. That job description is the shopping list — not the label on the prettiest thing at the nursery.
- Buy for mature size and space accordingly. Space shrubs at roughly their mature width, and accept that the bed looks sparse for two or three years rather than looking crowded forever.
- Keep the palette short. Seven to nine species in a typical front yard reads as intentional; twenty reads as a collection. Repeat plants in odd groups of three or five to tie the beds together.
- Build in layers. Canopy tree, mid-height shrubs, low ground cover — three tiers give a bed structure even in winter.
- Match plants to microclimates. The strip along a west-facing wall, the low spot that stays wet, and the shade under a mature tree are three different gardens on the same lot.
- Sample hardscape in place. Set paver and stone samples out in full sun and look at them wet, dry, morning, and evening. Colors that look warm in a showroom often read pink or gray outdoors.
- Mulch 2 to 3 inches deep and keep it pulled back from trunks and stems to avoid rot and rodent damage.
Finally, run the finished plan past the principles again: is it balanced, does it repeat elements enough to feel unified, is the scale right against the height of the house, and does the eye have somewhere to go? If a bed fails one of those tests on paper, it will fail it in the ground too.
A Short Checklist To Start This Weekend
You don't need drafting software or a finished vision to begin. You need a measured drawing, a week of watching the site, and an order of operations.
- Measure the lot and draw the base plan to scale, including utilities and window sill heights.
- Track sun, shade, wind, and water for a week and mark the problem spots.
- Sketch bubbles for public, private, and service space at realistic dimensions.
- Mock up the layout with a hose or cardboard and walk it for a few days.
- Break the plan into phases, putting grading, drainage, and sleeves first.
- Pick plants and materials last, by the job each one has to do.
Work through those steps in that order and the "what is landscaping" question answers itself. The design stops being a collection of borrowed pictures and becomes a plan built around your soil, your light, your budget, and the way your family actually uses the yard — which is the only version that holds up once it's in the ground.